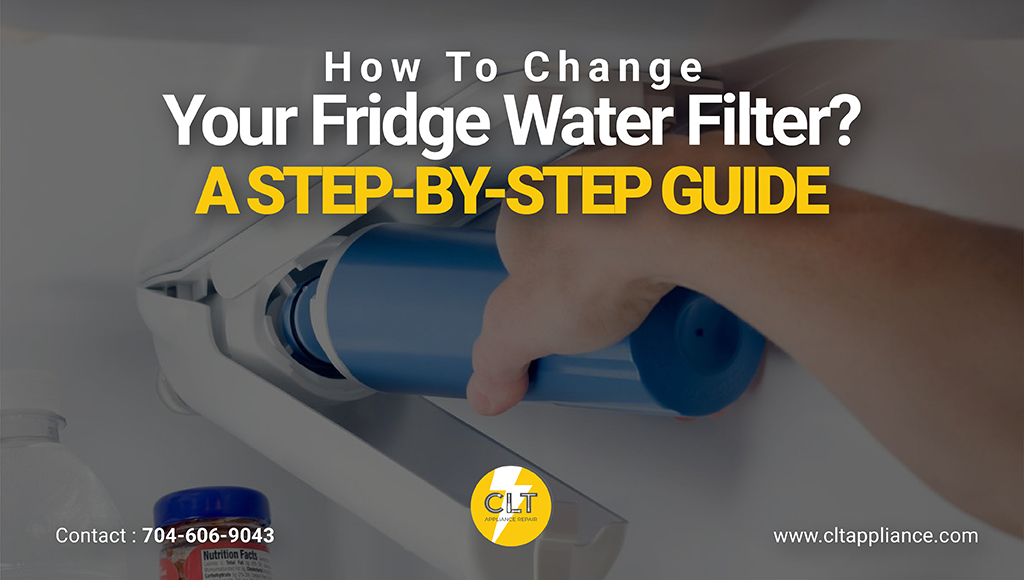
The indicator light on your refrigerator has turned red, or the water from the dispenser tastes flat. Both point to the same thing: a water filter that has run its course.
The filter cleans the water that feeds the dispenser and the ice maker. It traps chlorine, sediment, and other contaminants, and it loses that ability as it fills. Changing your fridge water filter is one of the simplest maintenance jobs on the appliance, and it takes only a few minutes once you know the steps.
How Often Should You Replace a Refrigerator Water Filter?
Most manufacturers set the schedule at every six months. Water quality and how much you use the dispenser can shift that window. The CDC advises replacing water filters on the manufacturer’s instructions, since the same germs that grow in household pipes can multiply inside a filter left in too long.
Some signs tell you the filter is due before the calendar does. Water flow slows at the dispenser. The taste or smell turns off. Ice comes out cloudy or picks up an odor.
What to Do Before Changing Your Fridge Water Filter
Before you change your fridge water filter, two things make the job go smoothly: knowing where the filter sits and having the right replacement ready.
Filter placement varies by model. Many sit inside the fridge compartment, in the upper right corner or along the back. Others hide behind the grille at the bottom front, or in the base near the floor. Your owner’s manual names the exact spot and the part number.
Match the replacement to your refrigerator by its model or part number. The EPA recommends using a filter certified to reduce the contaminants you care about, such as lead, and following its directions for installing and replacing the cartridge. Certified filters print an NSF/ANSI number on the box.
Match the Filter to Your Refrigerator Model
- Use the refrigerator’s full model number when ordering a replacement filter.
- Do not rely on the brand name alone, as one brand may use different filter shapes across multiple models.
- A similar-looking cartridge may not fit, lock, or seal properly.
Identify Your Filter Release Type
- Quarter-turn filters: Twist the filter to unlock, then pull it out.
- Push-in filters: Press the release button and pull the cartridge free.
- Pull-out filters: Slide the filter straight out of the grille.
- Knowing the filter style helps you choose the right replacement and install it correctly.
Changing The Filter Step by Step
Replacing a refrigerator water filter is a simple task, but each step affects performance. Correct installation prevents leaks, improves water taste, and helps the dispenser and ice maker work properly.
Prepare Before Removing the Filter
Before starting, create enough space around the refrigerator and keep a towel nearby for any water left inside the old cartridge.
- Leave the water supply on: Most refrigerator filters have a built-in shutoff that stops water flow when removed. There is usually no need to turn off the main supply.
- Pause the ice maker: If the ice maker is running, switch it off temporarily to prevent it from starting a cycle during the replacement.
- Protect the area: Place a towel under the filter housing to catch small drips.
Remove the Old Filter Carefully
The removal method depends on the filter style installed in your refrigerator.
Twist-In Filters
Turn the cartridge counterclockwise until it unlocks, then pull it straight out. Some models require a slight push before turning.
Push-In Filters
Press the release button or push the cartridge inward until it releases from the housing. Pull the old filter out gently.
Grille Filters
Grip the exposed end of the filter and pull it straight forward. Avoid twisting unless your model specifically requires it.
If the filter does not move, do not force it. Check that it is fully unlocked before trying again.
Get the New Cartridge Ready
Remove the packaging, protective caps, or covers from the replacement filter before installation.
- Compare the new cartridge with the old one.
- Check that the connection points match.
- Position the filter in the same direction as the original.
A properly aligned filter slides into place smoothly and creates a tight seal inside the housing.
Install the Replacement Filter
Push the new cartridge firmly into the filter slot until it locks.
- Twist-style filters: Turn clockwise until the cartridge stops and feels secure.
- Push-in filters: Press until the release button clicks back into place.
- Grille filters: Slide the cartridge in until it sits fully inside the housing.
The filter should sit evenly and should not move or wobble after installation.
Flush the New Filter Before Drinking
New filters contain activated carbon that can release fine particles during the first few uses. Flushing clears these materials and removes trapped air from the system.
Run water through the dispenser for about three to five minutes or until the flow becomes clear. The first water may look cloudy, sputter, or contain small dark particles. Continue flushing until the water runs normally.
Finish With a Reset and Leak Check
After the filter is installed, reset the refrigerator’s filter indicator. Most models require holding the reset button for a few seconds until the light changes.
Complete the process by checking:
- Filter housing for drips.
- Dispenser area for leaks.
- Floor beneath the refrigerator for moisture.
If water appears after installation, remove the filter and reinstall it to ensure the cartridge is properly locked and the seal is sitting correctly.
Troubleshooting Common Refrigerator Water Filter Problems
Small problems come up, and most have quick fixes.
- The old filter will not budge: Turn it firmly and evenly. Mineral buildup can make a quarter-turn filter stick, and steady pressure usually frees it.
- Water leaks after the swap: The cartridge is probably not fully seated. Remove it and reinsert it until it locks, then recheck.
- The dispenser sputters or spits: Trapped air is the cause. Keep running water through until the flow smooths out.
- Flow is slower than before: A generic filter that does not match the housing can restrict flow. Confirm the model number, or switch to a filter that fits your fridge exactly.
When to Call a Professional
Most filter changes need no help at all. Some situations are worth a call, though.
- The filter housing is cracked or leaking even with a new cartridge seated.
- Water keeps leaking from the line behind or under the fridge.
- The dispenser or ice maker stays weak after a fresh filter and a full flush.
Those point to the water line, the valve, or the dispenser rather than the filter. CLT Appliance Repair handles that side of the job, tracing the leak or the flow problem to its source instead of guessing at parts.
Common Questions
How often should I change my refrigerator water filter?
Every six months is the standard, and many refrigerators track it with an indicator light. Heavy dispenser use or poor water quality can shorten that window. Change it sooner if the flow slows or the water starts to taste off.
Do I need to turn off the water to change the filter?
No, not on most refrigerators. The filter housing has a valve that seals the moment you remove the cartridge, and no water sprays out. Keep a towel handy for the small amount that drips from the old filter.
Why is my water cloudy or slow right after a filter change?
Cloudy water is trapped air, and gray water is loose carbon from the new filter. Both clear once you flush a few gallons through the dispenser. Slow flow that does not improve usually means the filter is not fully seated or does not match the model.
Can I use a generic water filter instead of the brand-name one?
Yes, if it is certified and fits your model correctly. Look for an NSF/ANSI number on the box to confirm it reduces the contaminants you want. Fit matters as much as price, and a generic that does not seat properly can leak or restrict the flow.
Clean Water in a Few Minutes
Changing a fridge water filter comes down to six steps, and the flush at the end is the one to respect. Do it on the manufacturer’s schedule, match the filter to your model, and the dispenser keeps pouring clean, good-tasting water and clear ice.
When the dispenser keeps running slow, or a leak traces past the filter, the problem sits deeper than the cartridge. CLT Appliance Repair covers Charlotte and the surrounding towns, with factory-trained, EPA-certified technicians on every major brand. Same-day appointments run seven days a week, and a guarantee backs the work.
Call 704-606-9043 or book online whenever a filter change is not enough to fix the water.
Author

- John Bennett is a seasoned appliance repair specialist at CLT Appliance Repair, where he brings over a decade of technical expertise and a strong commitment to customer satisfaction. With a background in electrical and mechanical systems, John has built a reputation for reliable, efficient, and honest repair services across a wide range of household appliances-including refrigerators, washing machines, ovens, and more.