How To Fix Range Hood Lights That Won’t Work?
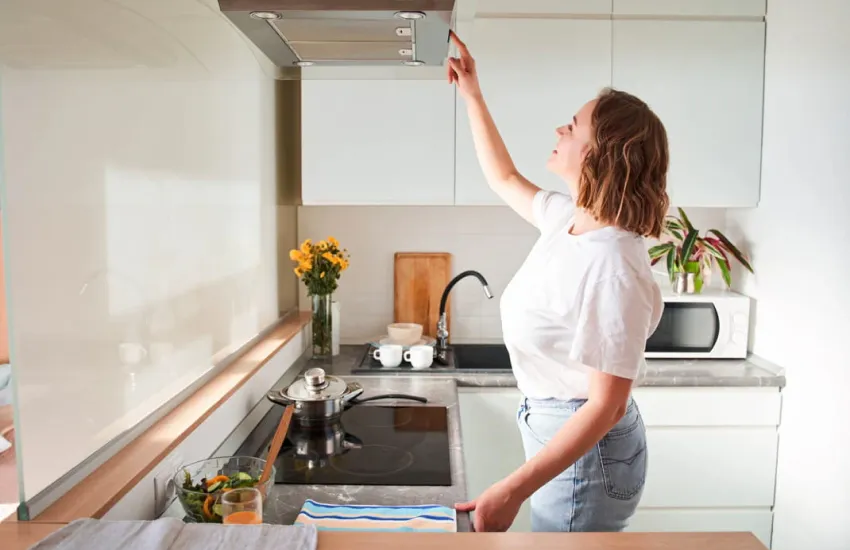
Range hood lights often stop working at the worst time, making it harder to monitor food, clean the cooktop, and cook safely. The most common cause is a burned-out bulb, though it is far from the only one. Several other faults can interrupt the power to the lights. Loose bulb connections, grease-filled sockets, and blown fuses each leave them dark. Faulty switches, damaged wiring, and a failed control board can do the same.
Which fix you need depends on which of those parts has failed. The seven below run from the quickest, most common repairs to the electrical faults that call for a professional. Each one covers a cause behind range hood lights that won’t turn on and shows you how to put it right.
Your fridge is a kitchen superstar as it keeps all your food fresh and drinks cold.
But does the fridge feel warm when you open it?
Is there water all over the floor?
Fridge issues are the worst!
1. Replace a Burned-Out Bulb
Most dead range hood lights come down to a burned-out bulb, so that is the first thing worth checking. The bulb sits in the heat directly above the cooktop, and that constant heat shortens its life well below a normal ceiling or lamp bulb. You can often spot a spent one by the darkened or blackened patch on its glass, though some fail with no visible sign at all.
Matching the replacement matters as much as fitting it. Range hoods take a specific bulb type, wattage, voltage, and base. All four need to match the original, and you will find those details stamped on the old bulb or listed in the manual.
- Turn off the power at the breaker.
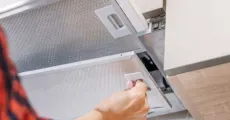
- Remove the lens or cover. Most twist off or unscrew by hand.
- Take out the old bulb. Screw-in types turn counterclockwise, and halogen pucks pull straight out.
- Fit the matching replacement, then refit the cover.
- Restore power and test the light.
Keep in Mind:
Incandescent bulbs last only 1,000 to 2,000 hours, while an LED runs 30,000 to 50,000. Once you fit an LED rated for your hood, it can outlast a dozen incandescent bulbs before it needs changing.
2. Reseat a Loose Bulb
Even a working bulb leaves the light dark when it has come loose in the socket. Heat cycling and the steady vibration from the fan slowly back it out of its seat. This happens most often after a recent bulb change that was never fully tightened.
This check takes only a few seconds. Turn the power off before handling the bulb. Press a push-in bulb firmly into place, or turn a screw-in bulb clockwise until it feels snug. A properly installed bulb sits flush in the socket and does not wobble when gently touched.
This step is easy to skip, yet a loose bulb can look just like a burned-out one. Checking that the bulb is installed correctly can save the cost of an unnecessary replacement. In many cases, simply tightening or reinstalling the bulb restores the light immediately.
3. Clean a Grease-Filled Socket
When a fresh, working bulb still will not light, the socket is the likely problem. Cooking sends grease and vapor upward, and the range hood pulls that vapor straight past the light. Over the months, a sticky film builds on the metal contacts inside the socket. That film insulates the contacts and blocks the current from reaching the bulb.
Cleaning the Contacts
Work with the power off and the bulb removed.
- Look inside the socket for a greasy film, green or white corrosion, or a contact bent out of shape.
- Wipe the metal contacts with a dry cloth or a cotton swab.
- Keep water and liquid cleaners out of the socket, since either can create a shock or corrosion hazard.
- Reseat the bulb, restore power, and test the light.
In many cases, a light cleaning restores the light on its own. If the socket stays dead afterward, it may be cracked, or the wiring behind the housing may have loosened. Either problem is one for a technician.
4. Replace a Blown Fuse
Many range hoods include a small internal fuse that protects the light and fan circuits. Power surges, lightning strikes, and overloaded circuits can all blow that fuse in an instant. When it goes, it often cuts the lights while the fan and controls keep working. The two usually sit on separate protected lines.
Finding the fuse starts with the manual. It usually sits behind the control panel or inside the hood housing, and the manual lists its exact amperage rating. Replace it only with a fuse of that same rating. Anything higher lets through more current than the wiring is built for, which strips away the protection the fuse is meant to provide.
- Important:
When a new fuse blows again right away, treat it as a signal rather than bad luck. It points to a fault deeper in the wiring. Stop there and have the hood inspected instead of fitting another.
- Warning:
The next three fixes reach the switch, the wiring, and the board. Cut the power at the breaker before you touch any of them. Even with its own switch off, a range hood can hold live current. That charge is enough to cause a serious shock.
5. Test a Faulty Switch
The light has its own switch or button on the control panel, wired separately from the fan. That separation is useful for diagnosis. It also means the switch can fail on its own while the rest of the hood works normally.
Range hood light switches usually fail for two reasons. Years of repeated use can wear out the internal mechanism, while grease and moisture can seep inside and corrode the electrical contacts. In many cases, the problem is easy to notice because the switch feels loose, sticky, or unresponsive when pressed.
How to Test the Switch
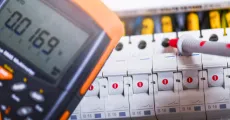
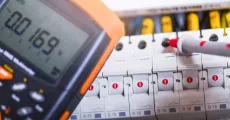
Turn on the fan by itself and watch the light. When the fan runs but the light stays dark, power is reaching the hood, and the switch is the likely fault. To confirm it fully, use a multimeter to check the switch for continuity.
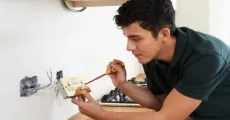
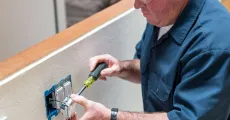
Replacing the switch is where this fix leaves DIY territory. The job means opening the control housing and disconnecting live wiring. For that reason, a technician should test the switch, confirm the fault, and fit the new one safely.
6. Rule Out Damaged Wiring
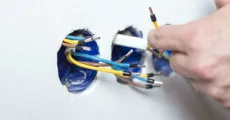
When the bulb, socket, fuse, and switch all check out, the wiring itself is the next place to look. Heat, age, and vibration slowly loosen the wire connections and wear through the insulation. Any break along that path cuts power to the lights.
Signs the Wiring Is at Fault
- The light flickers or cuts out at random before it fails for good.
- Nearby connections show scorch marks or give off a burnt smell.
- The trouble began soon after other electrical work in the kitchen.
Damaged wiring is not a repair to attempt at home. Finding the break safely calls for a multimeter and a real understanding of how the hood is wired. ESFI advises turning the power off at the breaker and calling a licensed electrician whenever a shock or a burnt smell points to a wiring fault. CLT Appliance Repair can trace a hidden wiring fault and repair it without dismantling the entire hood.
7. Check the Control Board
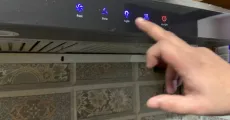
Range hoods with electronic touch controls run the lights through a control board rather than a simple switch. The board manages the lights, the fan speeds, and any timer or sensor the hood carries. When the board or one of its relays fails, it can stop powering the lights while the rest of the panel still responds.
The control board is usually the last suspect, checked only after the simpler parts are ruled out. Power surges are the most common reason one fails.
How to Tell It’s the Board
- The lights stay dead while the touch panel still lights up and reacts.
- Erratic behavior or an error code appears on the panel.
- The failure came right after a power surge or outage.
Testing or replacing a control board safely needs the right meters and training. The board is also a costlier part than the others. For that reason, a technician can tell you whether a repair or a new hood makes better sense.

When to Call a Professional
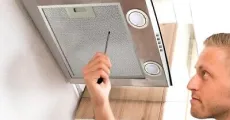
The first four fixes involve no live wiring. The switch, the wiring, and the control board do. Each of those means live electrical work. Forcing the repair risks a shock or further damage to the hood. CLT Appliance Repair handles those repairs from diagnosis to finish. Our technician arrives the same day and tests the switch, the wiring, and the board with proper meters. That pinpoints the exact fault instead of leaving it to guesswork. From there, only the failed part gets replaced. Every repair carries a satisfaction guarantee, and most are finished in a single visit. The team serves Charlotte and the surrounding towns and works on every major brand.
FAQs
The fan and the light run off separate switches and circuits. Power reaching one does not guarantee it reaches the other. When the fan runs, but the light stays dark, the problem lies in the light circuit. The bulb, the socket, or the switch is the usual cause.
Most range hoods take a small incandescent, halogen, or LED bulb. The base is commonly an E12 or E14 screw type or a two-pin halogen puck. The exact type, wattage, and voltage are printed on the old bulb or listed in the owner’s manual. Matching all of them prevents flicker and early failure.
For most homeowners, no. Replacing the switch means opening the housing and handling live wiring, where a wrong connection can short the circuit or cause a shock. Leave the test and the swap to a technician who can do it quickly and safely.
Fast LED failures usually come from heat or a mismatch. LED life shortens the hotter the bulb runs, and a range hood sits in constant heat above the cooktop. The hood may also not be rated for LED, or the wattage may be wrong. Confirm that your hood supports LED, then clean the socket before fitting another.
Don't let a malfunctioning Range Hood disrupt your daily life. Contact CLT Appliance Repair today at 704-606-9043 to schedule your Range Hood repair service.
We'll have your Range Hood back to optimal performance in no time!.