
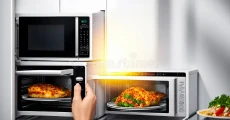
Microwave Sensor Repairs: | A Comprehensive DIY Guide
This guide presents an in-depth overview of microwave sensor issues and how to fix them. Find out how to detect common problems, diagnose sensor malfunctions, and perform repairs safely. Discover expert tips for maintaining your microwave’s optimal performance.
Microwave Sensor Repairs: A Comprehensive DIY Guide
When it comes to kitchen appliances, microwaves stand as silent sentinels, ready to heat our meals at a moment’s notice. But what happens when these culinary wizards start to falter, their sensors failing to detect the difference between a frozen burrito and a steaming cup of coffee? Let’s begin a journey into the heart of microwave sensor repair that will leave you feeling like a kitchen appliance whisperer.
Your fridge is a kitchen superstar as it keeps all your food fresh and drinks cold.
But does the fridge feel warm when you open it?
Is there water all over the floor?
Fridge issues are the worst!
Understanding Microwave Sensors: The Unsung Heroes of Convenience
Imagine a world where your microwave couldn’t tell the difference between reheating last night’s pizza and defrosting a chicken breast. Chaos would reign supreme in kitchens across the globe! This is where microwave sensors come to the rescue. These ingenious devices are the eyes and ears of your microwave, monitoring temperature, humidity, and even the weight of your food to ensure perfect cooking results every time.
But how do they work? Picture a tiny detective inside your microwave, sniffing out steam and measuring heat waves. That’s essentially what these sensors do, using a combination of thermistors, humidity detectors, and weight sensors to gather intel on your culinary creations.
Common Sensor Issues: When Good Sensors Go Bad
Even the most diligent microwave sensors can sometimes go astray. Here are some telltale signs that your microwave’s sensors might be throwing a tantrum:
- Error messages that sound like secret codes (E11, anyone?)
- Food coming out colder than a penguin’s popsicle
- Your microwave stopping mid-cycle like it’s having an existential crisis
- Overcooking your food until it resembles a charcoal briquette
If you’ve encountered any of these issues, don’t panic! You’re about to become a microwave sensor troubleshooting maestro.
Diagnosing Sensor Problems: Channeling Your Inner Sherlock Holmes
Before you can fix the problem, you need to identify it. Put on your deerstalker cap and grab your magnifying glass – it’s time to investigate!
- First, check for error codes. These cryptic messages are your microwave’s way of crying for help. Consult your user manual to decipher these digital distress signals.
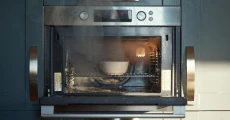
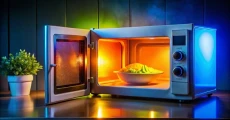
- Next, perform the cup of water test. Place a cup of water in your microwave and run the sensor cook function. If it heats properly, your sensor might just be having a bad day. If not, we’ve got some work to do.
- Finally, give your microwave a thorough visual inspection. Look for any signs of damage, dirt, or moisture on the sensor itself. Sometimes, a little TLC is all it takes to get your microwave back in fighting shape.
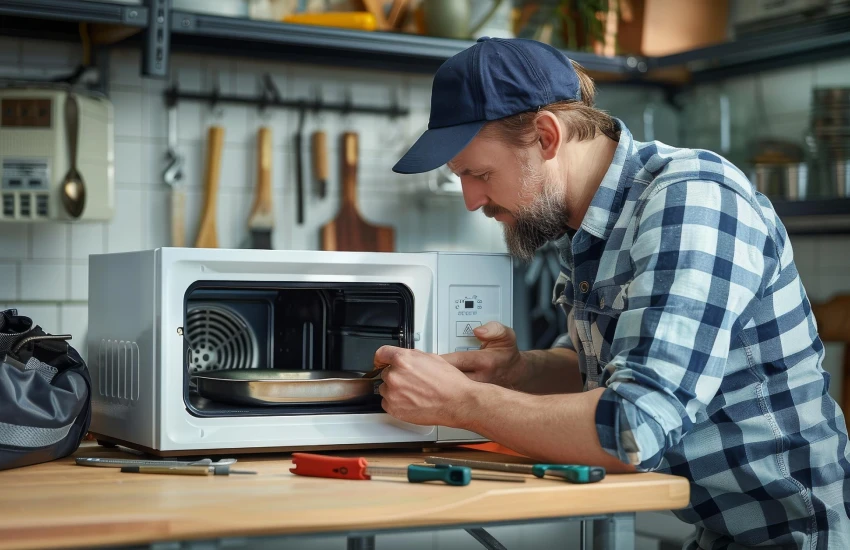
Step-by-Step Repair Guide: Becoming the Microwave Whisperer
Now that we’ve identified the culprit, it’s time to roll up our sleeves and get to work. Here’s your step-by-step guide to microwave sensor glory:
Step 1: The Great Cleanse
- Unplug your microwave (safety first!)
- Locate the sensor (consult your manual if needed)
- Gently clean it with a damp cloth or cotton swab dipped in rubbing alcohol
- Let it dry completely before plugging it back in
Step 2: The Sensor Swap (for advanced DIYers)
If cleaning doesn’t do the trick, you might need to replace the sensor:
- Unplug the microwave and remove it from its mounting
- Remove the outer cover (this is where things get serious)
- Disconnect the old sensor and replace it with a new, compatible one
- Reassemble and test your handiwork
Step 3: Connection Inspection
Sometimes, the problem lies in the wiring:
- Check all connections to the sensor and control board
- Tighten any loose connections
- Clean any corroded contacts (they’re the rusty-looking bits)
Safety Precautions: Because We Want You Around for the Sequel
Before you dive headfirst into microwave repair, remember these golden rules:
- Always unplug the microwave before you start tinkering
- Microwaves contain high-voltage components that can hold a charge even when unplugged – handle with extreme care
- If you’re ever in doubt, step away from the microwave and call in the pros


Know Your Limits
While we admire your DIY spirit, some repairs are best left to the experts. If you’ve tried these steps and your microwave is still acting like it’s possessed, it might be time to wave the white flag and call in reinforcements.
Need expert microwave repair in Charlotte? Get in touch with CLT Appliance Repair for fast, reliable microwave repair charlotte nc service that will have your kitchen running smoothly in no time!
FAQs
Common signs include error messages, uneven heating, stopping mid-cycle, or overcooking food. Perform a sensor test by heating a cup of water using the sensor cook function to check if it’s working properly.
While it’s possible for experienced DIYers, replacing a microwave sensor can be complex and potentially dangerous. If you’re not confident in your skills, it’s best to consult a professional technician.
There’s no set schedule, but cleaning your microwave sensor every 3-6 months or when you notice performance issues can help maintain its accuracy and extend its lifespan.
Costs can vary depending on the issue and your location. Simple cleaning may be free if you do it yourself, while sensor replacement can range from $50 to $200 if done professionally.
While a faulty sensor itself won’t typically cause damage, it can lead to improper cooking times which may result in overheating or food safety issues. It’s best to address sensor problems promptly.
Don't let a malfunctioning Microwave disrupt your daily life. Contact CLT Appliance Repair today at 704-606-9043 to schedule your oven repair service.
We'll have your Microwave back to optimal performance in no time!
Freezer Repair Indian Land SC | Freezer Repair Indian Trail NC | Freezer Repair Pineville NC | Freezer Repair Rock Hill SC | Freezer Repair Belmont NC | Freezer Repair Matthews NC | Freezer Repair Lancaster SC | Freezer Repair Cornelius NC | Freezer Repair Fort Mill SC | Freezer Repair Concord NC | Freezer Repair Denver NC | Freezer Repair Monroe NC | Freezer Repair Mooresville NC | Freezer Repair Harrisburg NC | Freezer Repair Lake Wylie SC | Freezer Repair Huntersville NC | Freezer Repair Kannapolis NC | Freezer Repair Mint Hill NC | Freezer Repair Waxhaw NC | Freezer Repair Troutman NC | Freezer Repair Davidson NC | Freezer Repair Gastonia NC | Freezer Repair Charlotte NC