
Air Conditioner Thermostat Troubles: A Homeowner's | Guide to Fix and Replace
This comprehensive guide walks homeowners through the process of diagnosing, fixing, and replacing air conditioner thermostats. From safety precautions to step-by-step replacement instructions and troubleshooting tips, learn how to tackle common thermostat issues and when to seek professional help. Discover the benefits of smart thermostats and essential maintenance practices to keep your AC running smoothly.
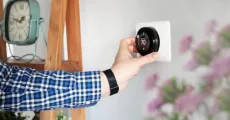
Air Conditioner Thermostat Troubles: A Homeowner’s Guide to Fix and Replace
Sometimes it feels like our once-reliable air conditioner seems to have a mind of its own. The culprit is often an unassuming thermostat mounted on our walls.
This small device does have a lot of power over your home’s comfort and energy efficiency. Whether you’re facing a temperamental thermostat or looking to upgrade, this guide will equip you with the knowledge to fix air conditioner thermostat issues like a pro.
Your fridge is a kitchen superstar as it keeps all your food fresh and drinks cold.
But does the fridge feel warm when you open it?
Is there water all over the floor?
Fridge issues are the worst!
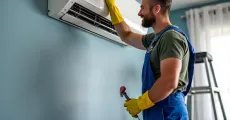
Getting The Process Started
Preparing for The Work
Remember, we’re dealing with electrical components here, so caution is key:
- Power Down: Always turn off your HVAC system at the circuit breaker. This isn’t just a suggestion—it’s an important step to prevent shocks or short circuits.
- Gear Up: Don safety goggles and gloves.
- Document Everything: Before disconnecting a single wire, snap a photo of your current setup. This will be invaluable when it’s time to reconnect.
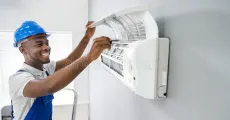
Step-by-Step Guide to Replacing Your Thermostat
Remove the Old Guard
- Gently pop off the cover to reveal the thermostat’s inner workings.
- Label each wire (R, W, Y, G) with stickers or tape.
- Unscrew and free those wires from their terminals.
Welcome the New Recruit
- Mount the new base plate, ensuring it’s level. (Pro tip: A crooked thermostat can lead to inaccurate readings!)
- Connect each labeled wire to its corresponding terminal on the new thermostat.
- Snap on the new face plate.
Power Up and Test
- Restore power at the circuit breaker.
- Program your new thermostat according to the manual (don’t skip this step!).
- Run a test by adjusting settings and listening for your system to respond.
Troubleshooting Tips for DIY Fixes
Sometimes, a full replacement isn’t necessary. Try these quick fixes first:
- For a blank display, check power connections or replace batteries.
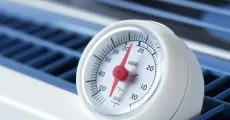
- If temperature readings are off, your thermostat shouldn’t be near heat sources or in direct sunlight.
- Dusty interior? Give it a gentle clean with compressed air.
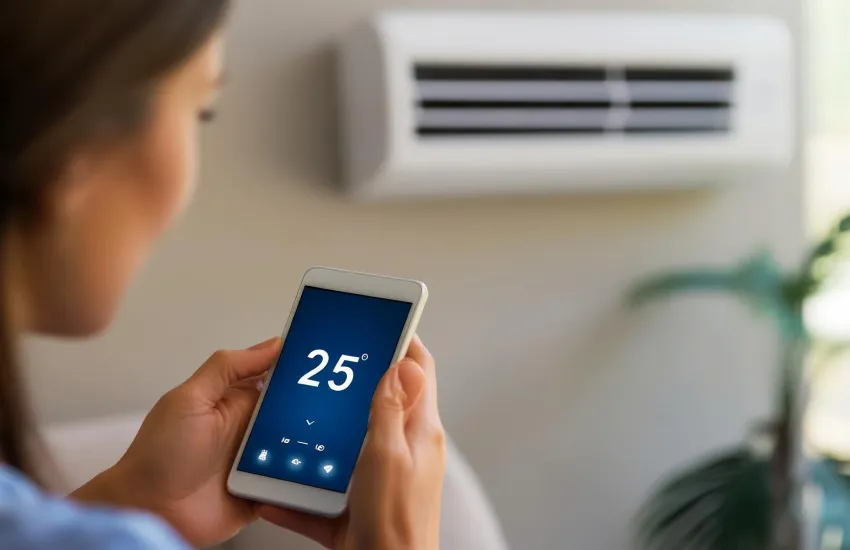
Smart Thermostats: The Future of Home Cooling
Considering an upgrade? Smart thermostats are revolutionizing home climate control:
- Wi-Fi connectivity for remote adjustments
- Learning capabilities to optimize your cooling schedule
- Energy usage reports to help you save on bills
Before making the switch, make sure your HVAC system is compatible and consider whether you need a C-wire for constant power.
We Are Always Here To Help!
Remember, whether you’re troubleshooting, replacing, or upgrading your thermostat, CLT Appliance Repair is here to help you with air conditioner repair charlotte nc. Our expert technicians can ensure your HVAC system runs smoothly, keeping you cool when you need it most.
Don't let a malfunctioning Air conditioner disrupt your daily life. Contact CLT Appliance Repair today at 704-606-9043 to schedule your Air conditioner repair service.
We'll have your fridge back to optimal performance in no time!
FAQs
There’s no set timeline, but consider replacing your thermostat every 10 years or if you experience frequent issues. Upgrading to a smart thermostat can also improve energy efficiency.
Yes, a malfunctioning thermostat can cause your AC to short cycle or run unnecessarily, potentially leading to system damage and increased energy bills.
Check your system’s voltage and wiring setup. Most modern thermostats are compatible with 24V systems. For specific compatibility, consult your HVAC manual or a professional technician.
While many homeowners can install smart thermostats themselves, the process can be tricky, especially if you need to add a C-wire. When in doubt, professional installation ensures proper setup and functionality.
Incorrect temperature readings can be caused by poor placement (near heat sources or drafts), dirt buildup, or sensor malfunctions. Try recalibrating or cleaning your thermostat, and if issues persist, consider replacement or professional assessment.
Appliance Repair Indian Land SC | Appliance Repair Indian Trail NC | Appliance Repair Pineville NC | Appliance Repair Rock Hill SC | Appliance Repair Belmont NC | Appliance Repair Matthews NC | Appliance Repair Lancaster SC | Appliance Repair Cornelius NC | Appliance Repair Fort Mill SC | Appliance Repair Concord NC | Appliance Repair Denver NC | Appliance Repair Monroe NC | Appliance Repair Mooresville NC | Appliance Repair Harrisburg NC | Appliance Repair Lake Wylie SC | Appliance Repair Huntersville NC | Appliance Repair Kannapolis NC | Appliance Repair Mint Hill NC | Appliance Repair Waxhaw NC | Appliance Repair Troutman NC | Appliance Repair Davidson NC | Appliance Repair Gastonia NC | Appliance Repair Charlotte NC
